
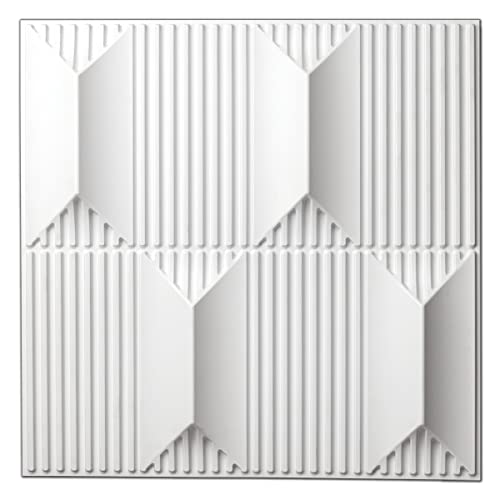

Zalorin PVC 3D Wall Panel for Interior Wall Décor, 19.7" x 19.7" Wall Decor PVC 3D Wall Panels, 3D Textured Wall Panels, Pack of 12 Tiles, White
Brand: Zalorin
white color
feature:
LARGE DESIGN: Each of our wall panels covers the same 32 square feet, making it larger than other wall panels. Its larger design makes your room look more impressive, and it's quick to install, making it perfect for large rooms. TRUE 3D DESIGN: Diamond pattern with 1-inch raised design makes our wall panels even more eye-catching. 19.7"x19.7", comes in a pack of 12 panels and covers 32 square feet. Be your own designer: Easy to DIY, no expertise required. Plan your own 3D decorative wall panels. Replacement None
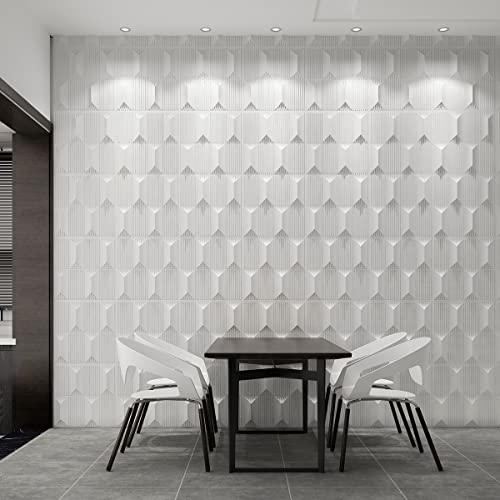
Chat walls give your room a completely new look.
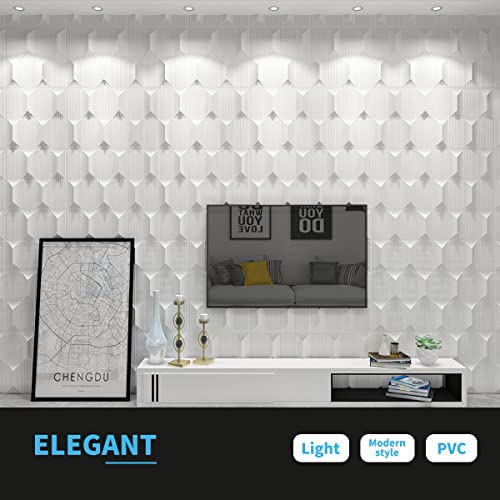
HIGH QUALITY MATERIAL: This 3D wall panel is made of high quality PVC, thin and light, easy to install. Waterproof and fireproof functions make this wall panel stronger and more durable.
WIDE APPLICATION: Add new wall decor to your home! Perfect wall panel for interior wall decoration in living room, bedroom, playroom, bathroom, feature wall, ceiling, mancave. Can also be used as 3D wall decoration commercial.
Details: 3D Wall Panel Installation Manual
1. Wall preparation All
The foundation wall must be flat, dry, clean, and solid. If the wall has aged, a water-based sealing primer must first be applied to the surface to repair loose surfaces.
2. Preparation of wall panels
Open the box and carefully remove the wall panel. Every 5 pieces are in a stack. Place the board on a clean, dry floor for 24 hours to balance the humidity between the board and the environment and prevent excessive expansion or contraction after installation. 3. Measure the wall
Measure the dimensions of the wall, find the center point of the wall, and mark it vertically and horizontally. Before attempting to install, ensure the desired pattern is installed correctly by rotating the panel to place it on the floor. 4. Install the product on the wall
Apply heavy-duty construction adhesive to the lower portion of the back of the panel, keeping the adhesive higher than the back of the panel. Attach the panel to the wall according to the design plan, press the edges of the panel tightly to ensure that all panels are tightly attached to the wall, and remove the glue that flows out of the panel. It is best to allow two hours for drying before proceeding to the next step 5. Cutting the board
If we encounter a corner of the wall or a power socket, we can draw a line on the panel, and then use a knife or electric saw to freely cut the board according to the line to fit the requirements of the wall.
6. Cut edges trimmed and painted
If the cut edge of the panel intersects the corner or end of the wall, fill the cut edge with sheetrock compound/acrylic caulk. If additional surface preparation is required, coat the panels with oil-based paint.